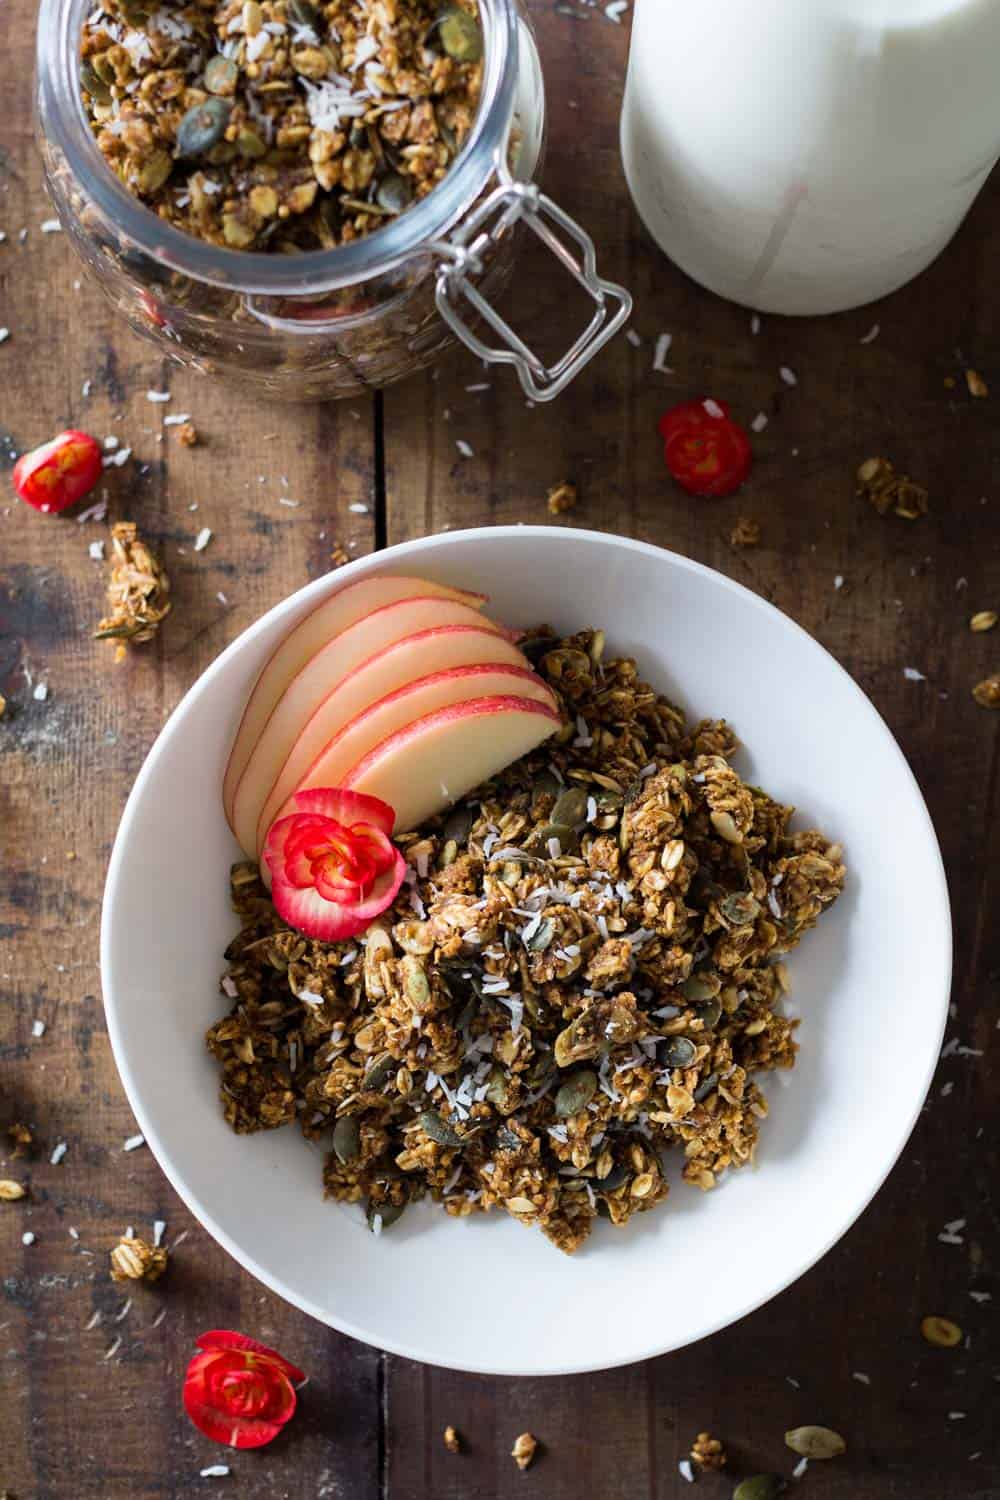
It’s pretty much PUMPKIN SEASON!!! Wheee! My favorite time of the year and I want to celebrate with this insanely delicious nut-free Healthy Pumpkin Granola. Get in the mood for fall right from the moment you wake up :)
My alarm goes off at 6:15 am every morning and until a couple days ago my kitchen and dining room used to be flooded in sunlight by that time. I told you though, in Montreal we have such a clear cut of seasons it’s mind blowing.
22. September is the official start of fall. Here, the weather Gods take that fact dead serious. Leaves immediately start turning colorful and some of the colorful leaves already cover the street. Strong wind appears out of nowhere, the sun comes out 2 hours later and mornings become super chilly. Sweater weather and everything pumpkin spice weather.
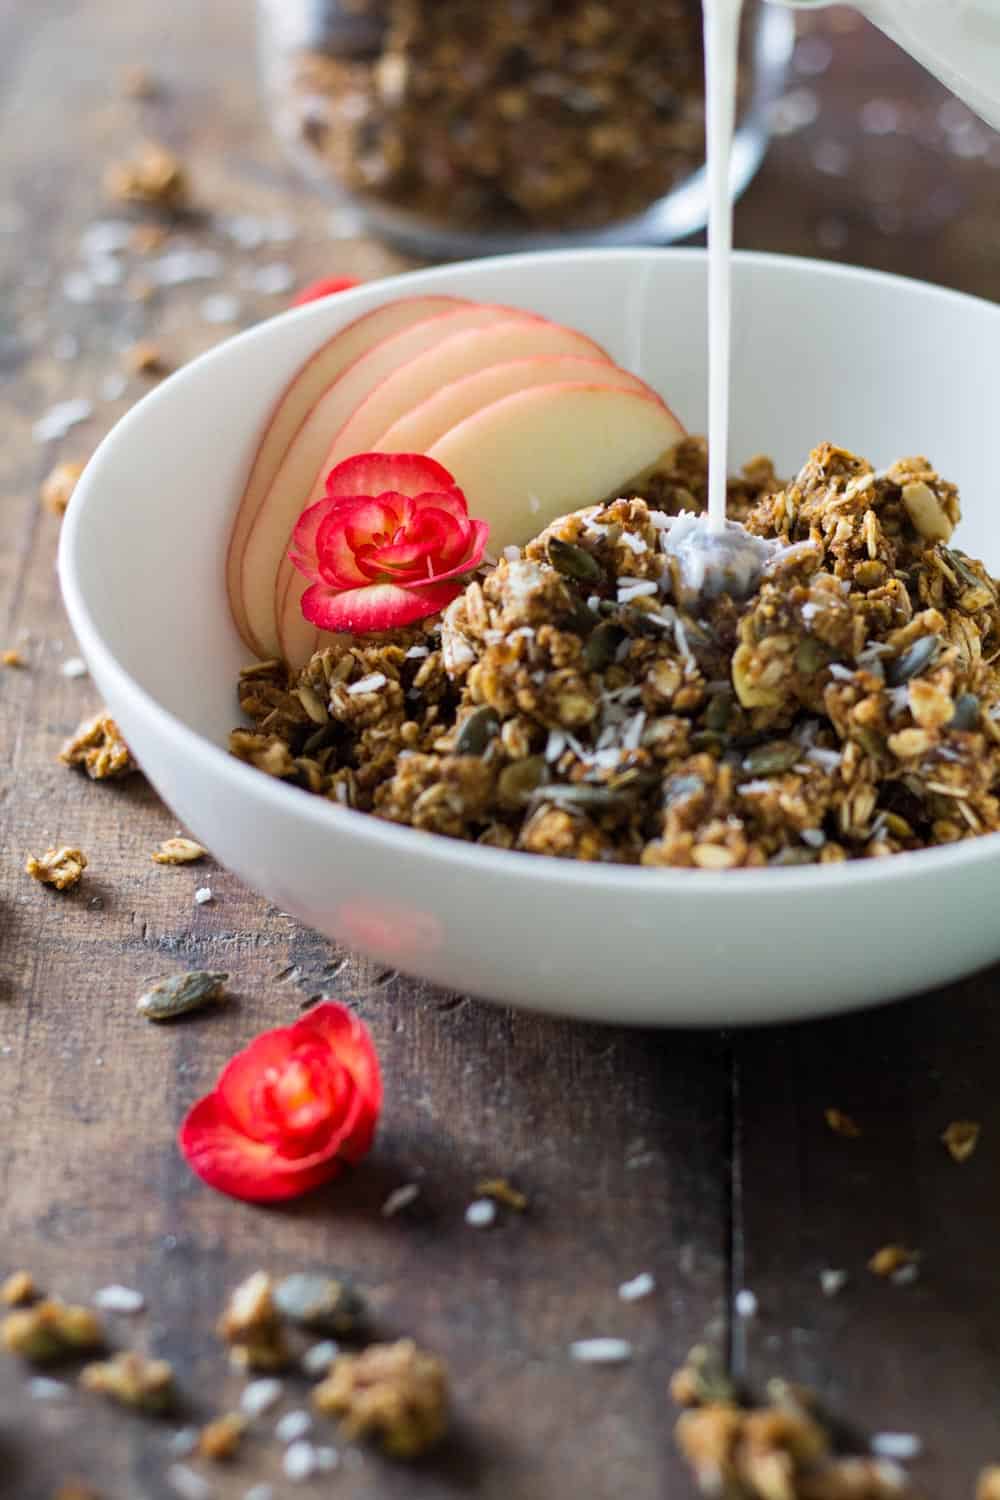
Picture this: You rocking a big knitted sweater while holding a delicious bowl of Healthy Pumpkin Granola with warm milk. You’re looking out the windows into the mist, savoring your pumpkin granola one bite at a time. It is a calm Friday morning that slowly soaks your kitchen into blue daylight.
Ummmmm, wouldn’t that be just WONDERFUL?!?!? Oh I so wish my mornings were exactly like that. The Healthy Pumpkin Granola part I can make happen at least. YES! The rest,…..eventually….
If you want to make this picture perfect morning happen, the first thing you’ll need to do is prepare a batch of this amazing fall emotion evoking granola.
How to make Healthy Pumpkin Granola
First and foremost, put on some relaxing music. This is a MUST! Preheat the oven and then, start by melting the Piloncillo (Panela/Rapadura, or however else you want to call this rock-hard reddish-brownish piece of unrefined sugar).
Keep stirring or turning from one side to the other at first that is. Don’t walk away! It’ll burn to your pot for ever and ever and your kitchen will smell like it burned down completely if you walk away too long. Stay put. Don’t get antsy. That’s why we put the music on.
It doesn’t take long, maybe 10 minutes. The problem is, the first 5 or 6 it looks like nothing at all is happening but there is a lot happening :) Once the sugar is melted, take it off the stove, stir in the coconut oil and pumpkin puree and set aside.
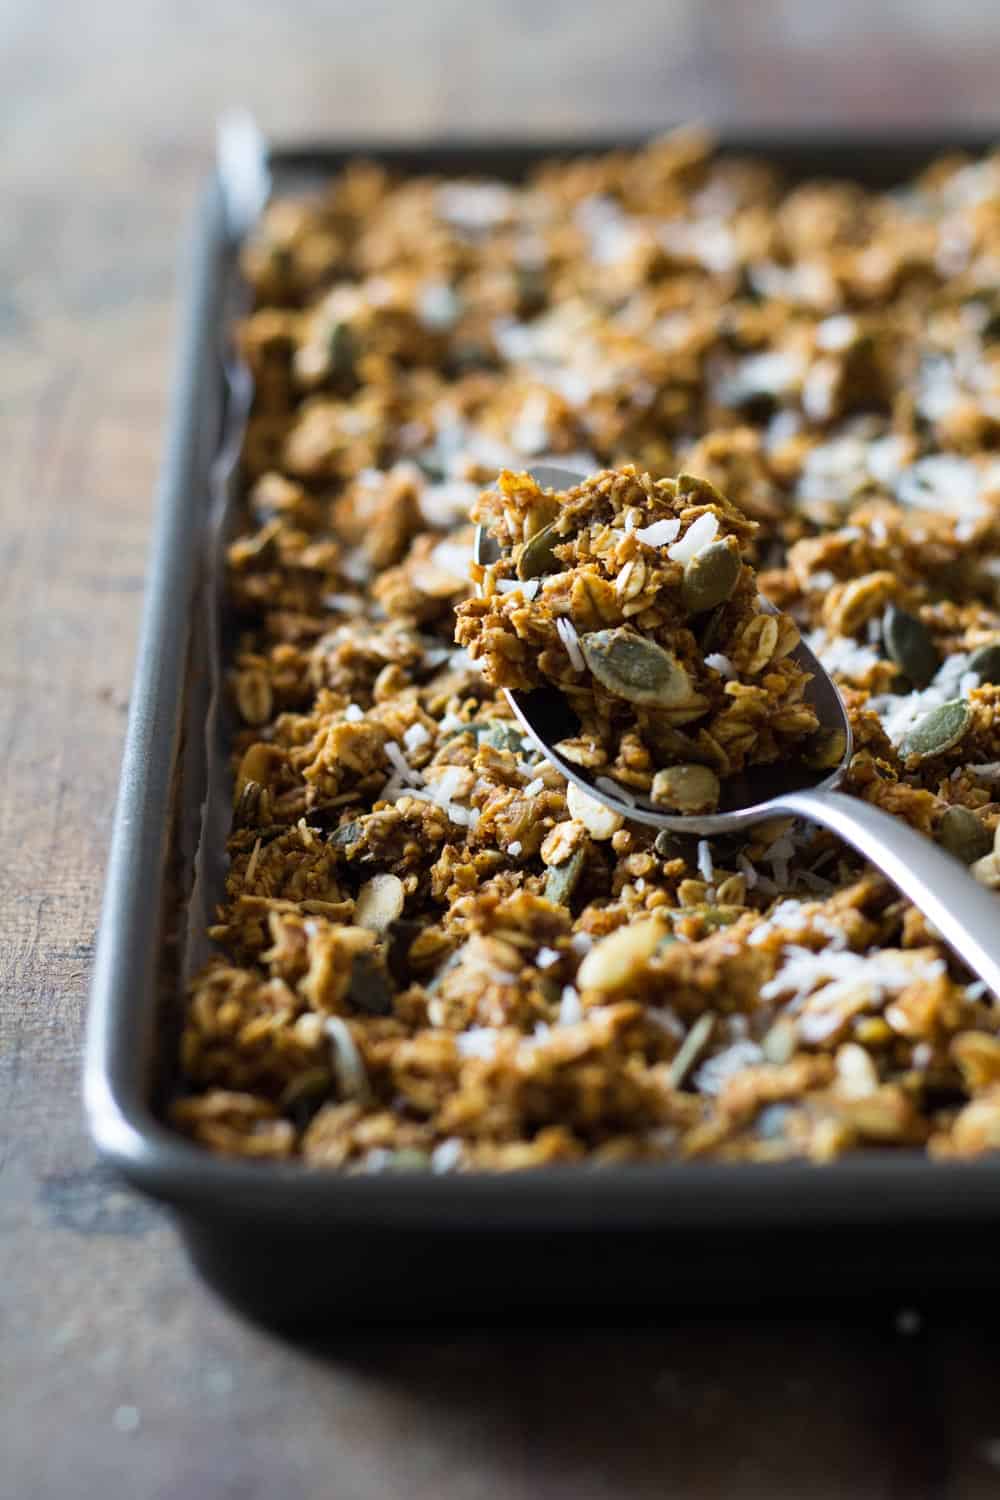
In a big bowl, mix all dry ingredients and then add the wet ingredients and stir until no dry bits can be seen anymore. Spread it all out on a large parchment paper lined baking sheet and off it goes into the oven. That’s about it. One more stir after 30 minutes which takes like a minute maybe. Easy Peasy!
The best part about making Pumpkin Granola is that your kitchen and house start smelling like a million dollars! It brings out emotions you didn’t even know you had. A kind of melancholy in which vivid sensory details absorb your being and that make you feel completely and totally alive. I guess this could be called absolute mindfulness.
How long does Pumpkin Granola last?
The answer is, it depends on how hot and humid it is in your kitchen and how you store it. Always give it a quick smell before serving, just in case. For best taste I recommend storing it in an airtight container on the kitchen counter. Remember it contains pumpkin puree though so it cannot be stored as long as other granolas containing pure oats, nuts and seeds.
Honestly, it’s so good I doubt you won’t finish it within 4 days, even if you just made this for yourself and nobody else. If you are one of those amazingly self-controlled people (how?!?!) then start storing it in the fridge after that. It will become softer in the fridge but it will still taste the same. In the fridge it “should” last at least a couple of weeks.
What to replace Panela with in case you can’t find it
You can simply use maple syrup instead of panela. It will taste great that way, too. I doubt the large pretty clusters will form with maple syrup though to be honest. Piloncillo is much denser and stickier, which acts like glue. Try and make an effort to get your hands on it.
It’s sold in any Latin American grocery store or online. I would use about 1/2 cup maple syrup as replacement of the 200g panela. Maple syrup is much sweeter and more liquid so you will need less.
How to make granola nut-free
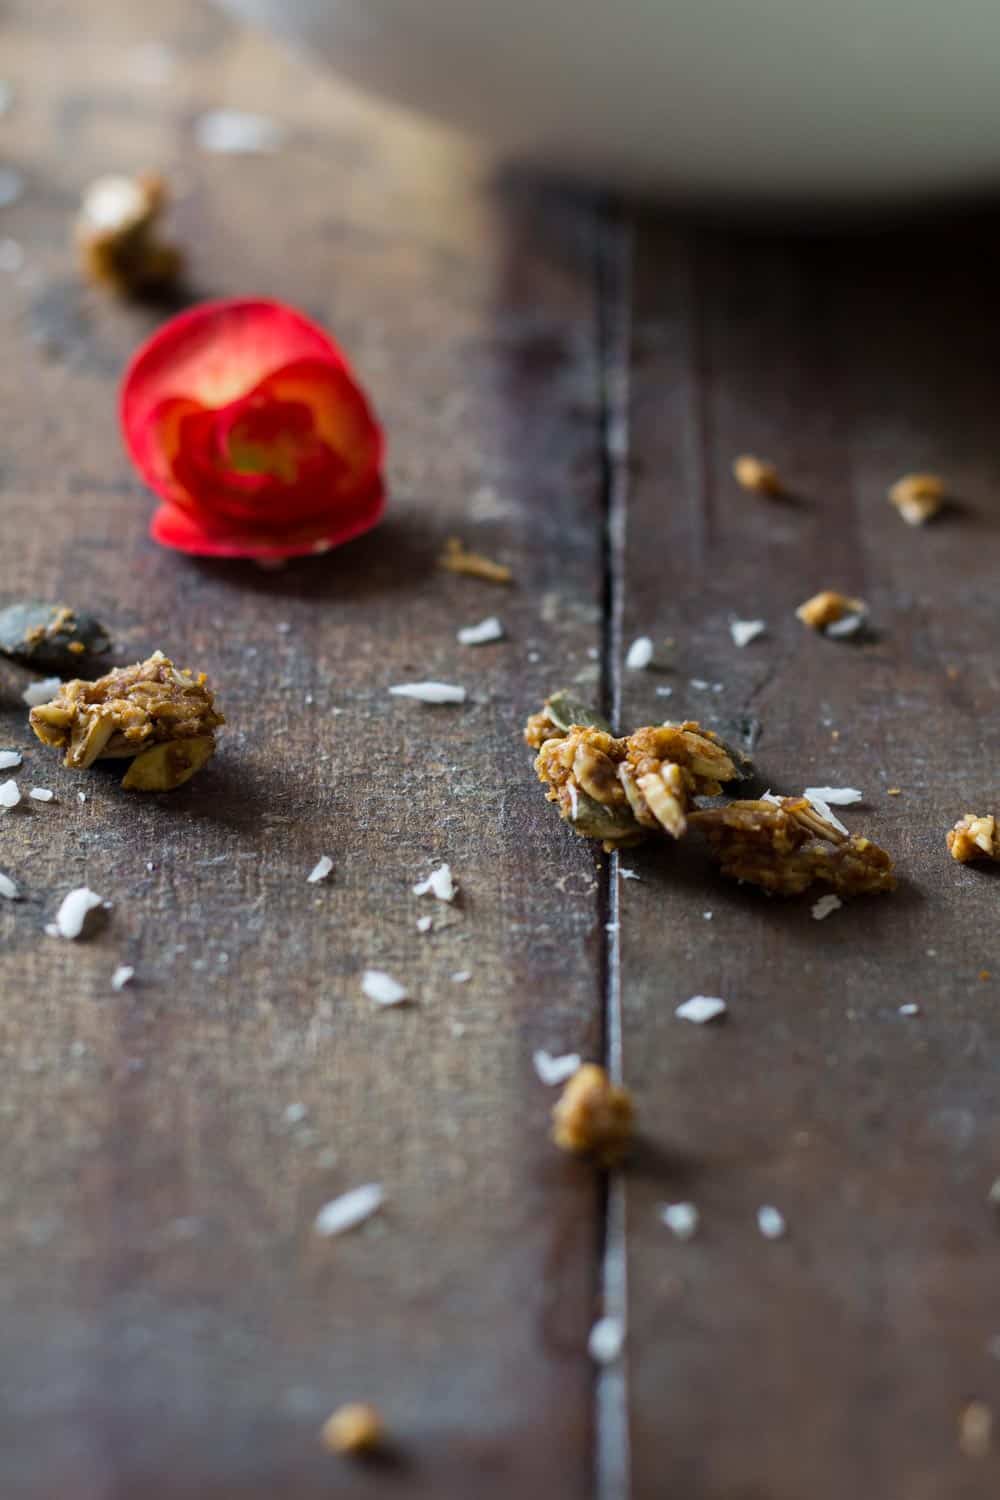
Add an insane amount of seeds instead :P I wanted this granola to be nut-free so I could send it as a snack with yogurt for my son to school. Most schools in Montreal are nut-free zones. The easiest way to make granola nut-free is to replace it by seeds.
Pumpkin seeds, sunflower seeds, sesame seeds…. you have a lot of options. On top of that, to add a “nutty” flavor and boost nutrition you can add puffed quinoa.
I added 1 cup of puffed quinoa and it it THE secret ingredient besides the panela and pumpkin of course that make this healthy pumpkin granola so special!
If you are a granola lover like I am check out my other granola recipes, too. Some of them are richer than this one but still healthy, nutrient-dense, and most importantly, insanely delicious: Peanut Butter Granola, The Ultimate Chocolate Granola and another panela-sweetened fall/winter tasting Healthy Homemade Granola.
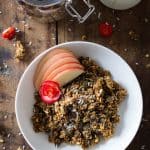
Healthy Pumpkin Granola
Ingredients
- 2.5 cups old-fashioned rolled oats
- 1/2 cup old-fashioned rolled oats made into flour
- 1 cup puffed quinoa
- 1 cup pumpkin seeds
- 1/2 cup unsweetened shredded coconut
- 1/2 Tbsp pumpkin spice or all spice
- 200 g piloncillo/panela/rapadura sugar
- 3 Tbsp coconut oil
- 1 cup canned pumpkin puree
- 1/4 cup unsweetened shredded coconut
Instructions
- Preheat oven to 250F.
- Melt panela sugar in a large pot over medium heat. You can add 1 Tbsp of water, for quicker melting but it will also melt without eventually. Don't walk away! Move around often so it doesn't burn.
- Add coconut oil and pumpkin puree to melted panela and whisk.
- Add all dry ingredients except the 1/4 cup shredded coconut to a large bowl.
- Add panela/coco oil/pumpkin puree cream to dry ingredients and stir until very well combined and no dry bits can be seen anymore.
- Line a large baking sheet with parchment paper (important!) and spread out the granola into an even layer.
- Put in the oven for 30 minutes (set a timer!), take out and stir well, then press into an even layer again, return to oven and bake for another 30 minutes (set a timer!).
- Take out of the oven and leave untouched to let cool completely (this will take at the very least 1 hour). Then sprinkle 1/4 shredded coconut over it.
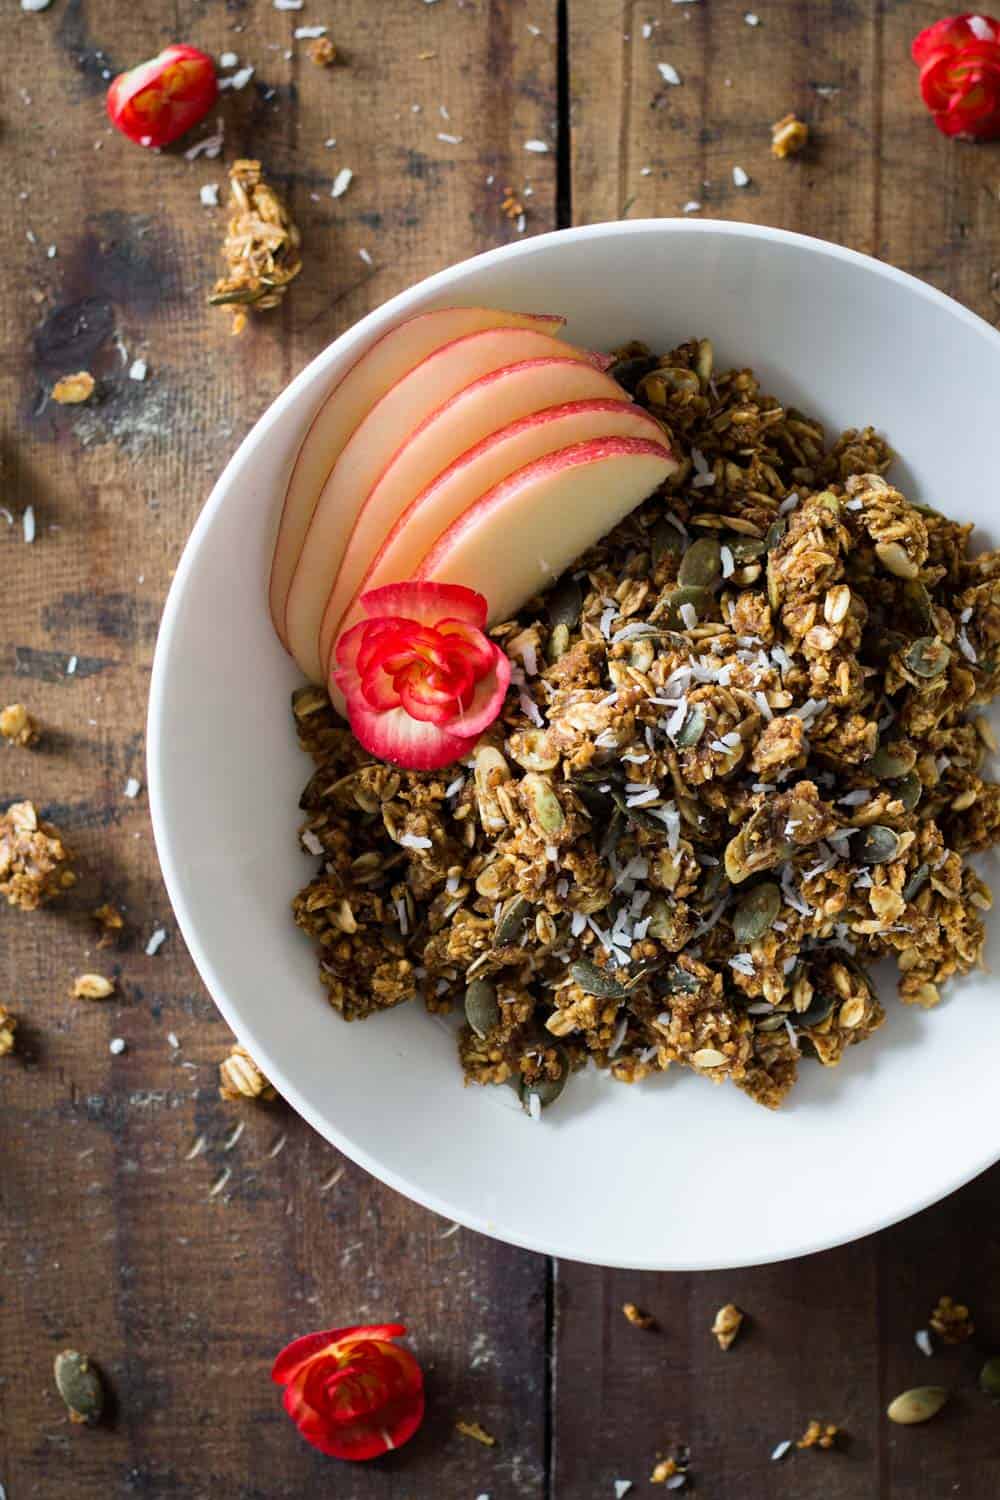
- Enjoy with fresh fruit like apple or pear and yogurt or milk. (My favorite: warm milk).


 Simple Chocolate Tart
 Creamy Potato Leek Soup
 Green Smoothie For Kids
Elizabeth says
This looks so delicious! I will be fixing this as soon as possible! I’m wondering about the Pumpkin Puree, how much did you use, and was it canned? Also, did you use unsweetened shredded Coconut? Thanks for the recipe :)
Lorena says
Thank you Elizabeth!! Thank you for noticing the mistakes. I just added the amount of pumpkin puree and specified that I used unsweetened shredded coconut. I’ve never bought sweetened coconut so I never think about specifying. I recommend using canned pumpkin puree because it tends to be denser than homemade. Just make sure pumpkin is the only ingredient. Nothing else added.