This 5-ingredient Chocolate Tart is easy to make with a filling so silky smooth it melts in your mouth. This delicious treat is naturally gluten-free, dairy-free, and vegan. It’s like a chocolatey dream come true!
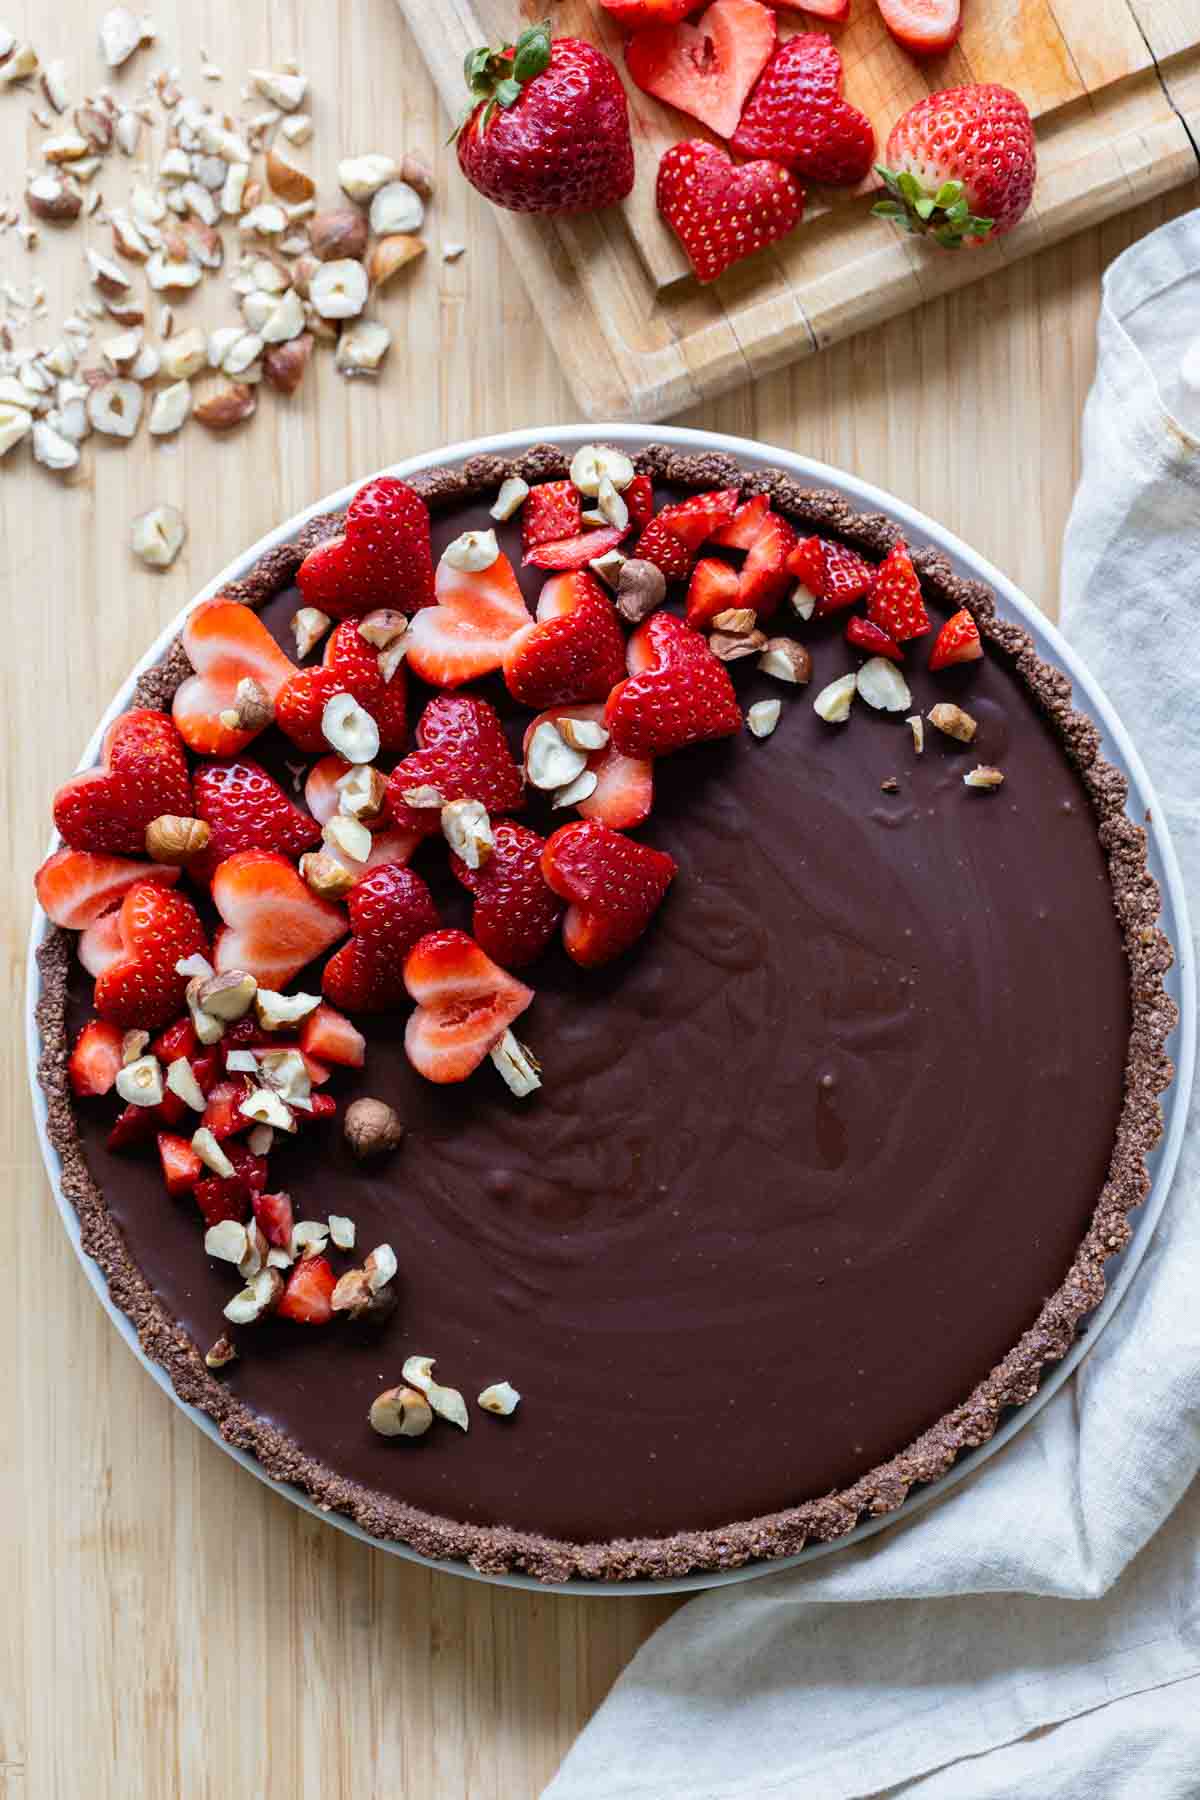
Dark chocolate desserts are simply incredible which is why I have quite a few of them on my website. Such as this 2-Ingredient Chocolate Spread, these Blender Paleo Brownies, or these Popped Amaranth Bars. A simple chocolate tart was still missing so naturally I had to change that asap!
Ingredients & Substitutions
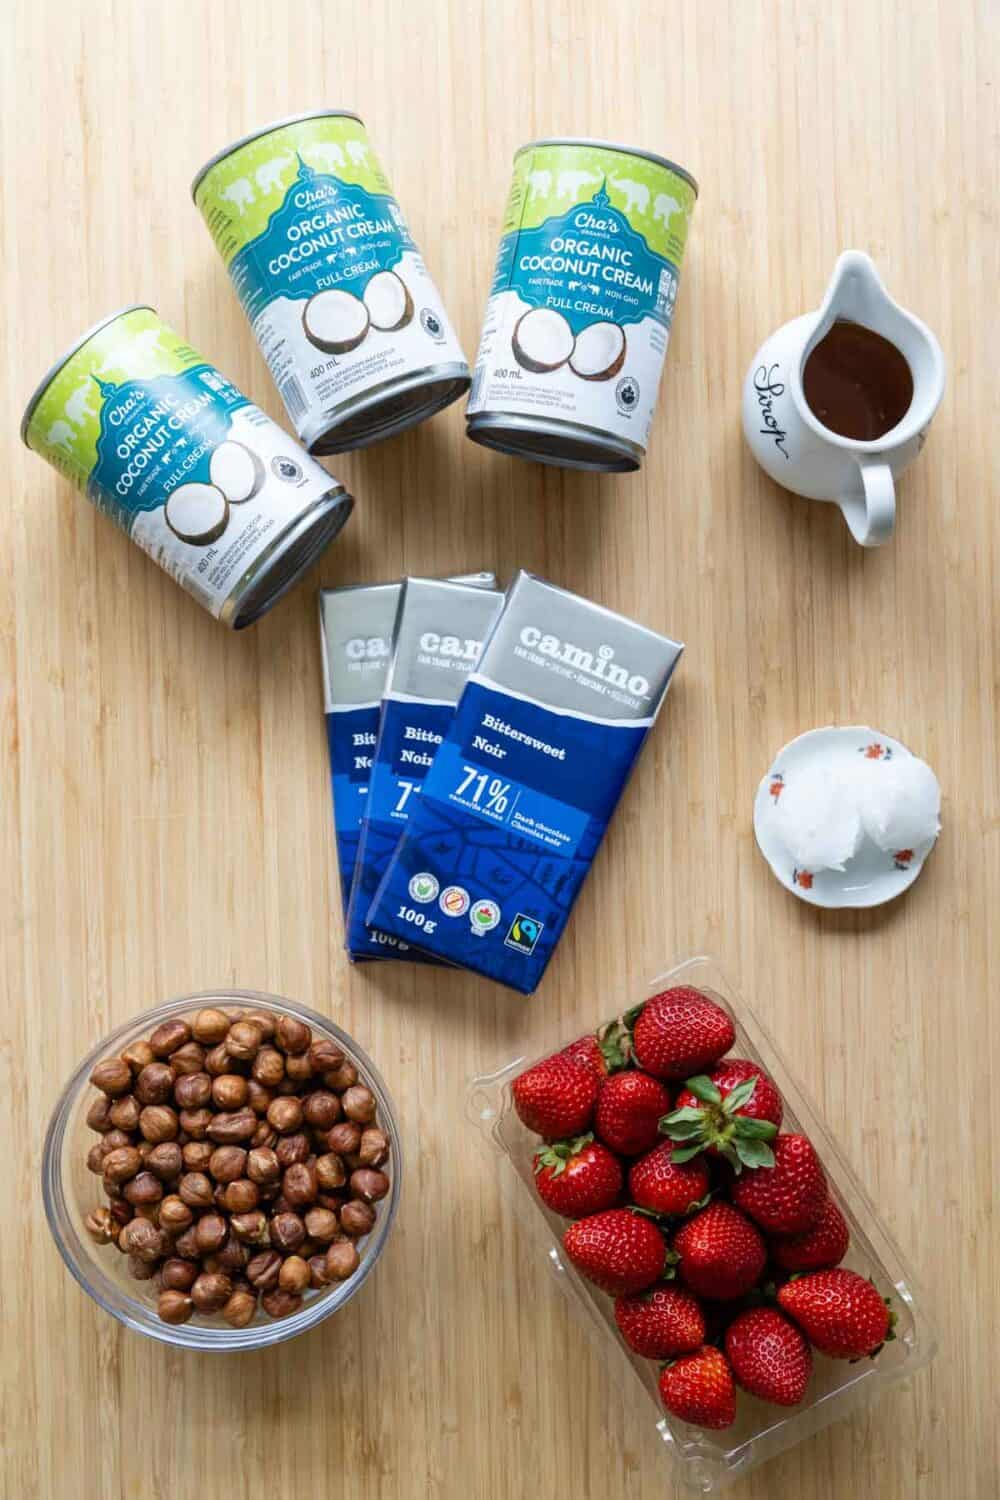
Dark Chocolate — to keep it vegan, dairy-free, and low in sugar you’ll want to use 70% (or +) dark chocolate but of course, milk chocolate or even white chocolate work from a cooking chemistry perspective.
Hazelnuts — any nut will work for the crust or even a mix of different nuts. You will have to adjust the amount of coconut oil depending on the fat content of each nut though to get a sticky consistency. The best alternative to hazelnuts is almonds.
Coconut Cream — it’s important that you get coconut “cream“. Coconut milk will not work in this recipe because of its higher water content. It’s also important that you use only the cream from the can and discard the water. For this, you have to add the cans to the fridge overnight (no, the freezer won’t work). Then scoop the cream from the top. An alternative if you don’t like the taste of coconut and you don’t mind it containing dairy is 35% heavy whipping cream.
Maple Syrup — chocolate, hazelnut, and maple are the most delicious flavor combination in the world if you ask me. A chocolate tart with hints of maple……O.M.G! So good! You could also use a little brown sugar instead if you don’t have maple syrup. Just dissolve it in a tablespoon of hot water first so the filling doesn’t become grainy. You could also simply omit it if you like your tart only barely sweet.
Coconut oil — you will only need 1-2 tablespoons. The amount will depend on if you roasted your hazelnuts of nut. While roasting, the nuts release some of their oil. If you choose to use the nuts without roasting you might need a little extra coconut oil to get a dough-y consistency.
Optional — to make the tart look extra pretty use berries and a few chopped-up nuts as decor. My favorite is super strong red strawberries and a few chopped-up hazelnuts.
Tips & Tricks on How To Make This Chocolate Tart
Roast your nuts — this step is optional but so worth it! Roasted nuts change in flavor and bring them from delicious to phenomenal. They also release some of their oils which in turn makes the crust require less coconut oil. You can also remove some of the hazelnuts skins to make the crust a bit sweeter and less bitter. Simply rub the nuts in a clean kitchen towel and the flaking skins will come right off.
Use a food processor — to make the crust a food processor is your best friend. Of course, you can use a cutting board and knife but that will take A WHILE to get to the desired consistency. I like pulsing first to chop them up and then add the chocolate and start processing on high until it almost becomes a dough. At this point, I assess the dough and see how much coconut oil I’ll need to make it “sticky”. You want to be able to use a spoon and press it against the food processor’s sides (while the machine is OFF of course!) and it should stay put there and not crumble and fall back into itself.
Important crust temperature tip — make sure your nuts have completely cooled down before processing. Your melted chocolate should be at room temperature before adding to the nuts. If your ingredients are too hot they won’t form into a dough-like consistency. Everything will stick to your fingers when you try to press it into the tart pan. If you made this mistake don’t worry, simply stick it into the freezer for 5-ish minutes and then try pressing again. Once your tart pan has the crust pressed in, store it in the fridge to harden.
Melt the coconut cream but don’t heat it — for a silky smooth filling you’ll have to melt the coconut cream so it can mix well with the chocolate. You do not want the cream to be hot though. As soon as it is melted remove it from the heat, add the maple syrup, and keep stirring. For the melted chocolate not to curdle, you have to constantly stir the coconut cream and add the chocolate in one stream. It will slowly become thicker. You want the filling to be pourable but thick, not completely liquid.
Use a removable bottom tart pan — if you want to be able to take the whole tart out of its pan to cut pretty triangles you have to make it in a non-stick removable bottom tart pan. You will also want to
How long can I store chocolate tart in the fridge?
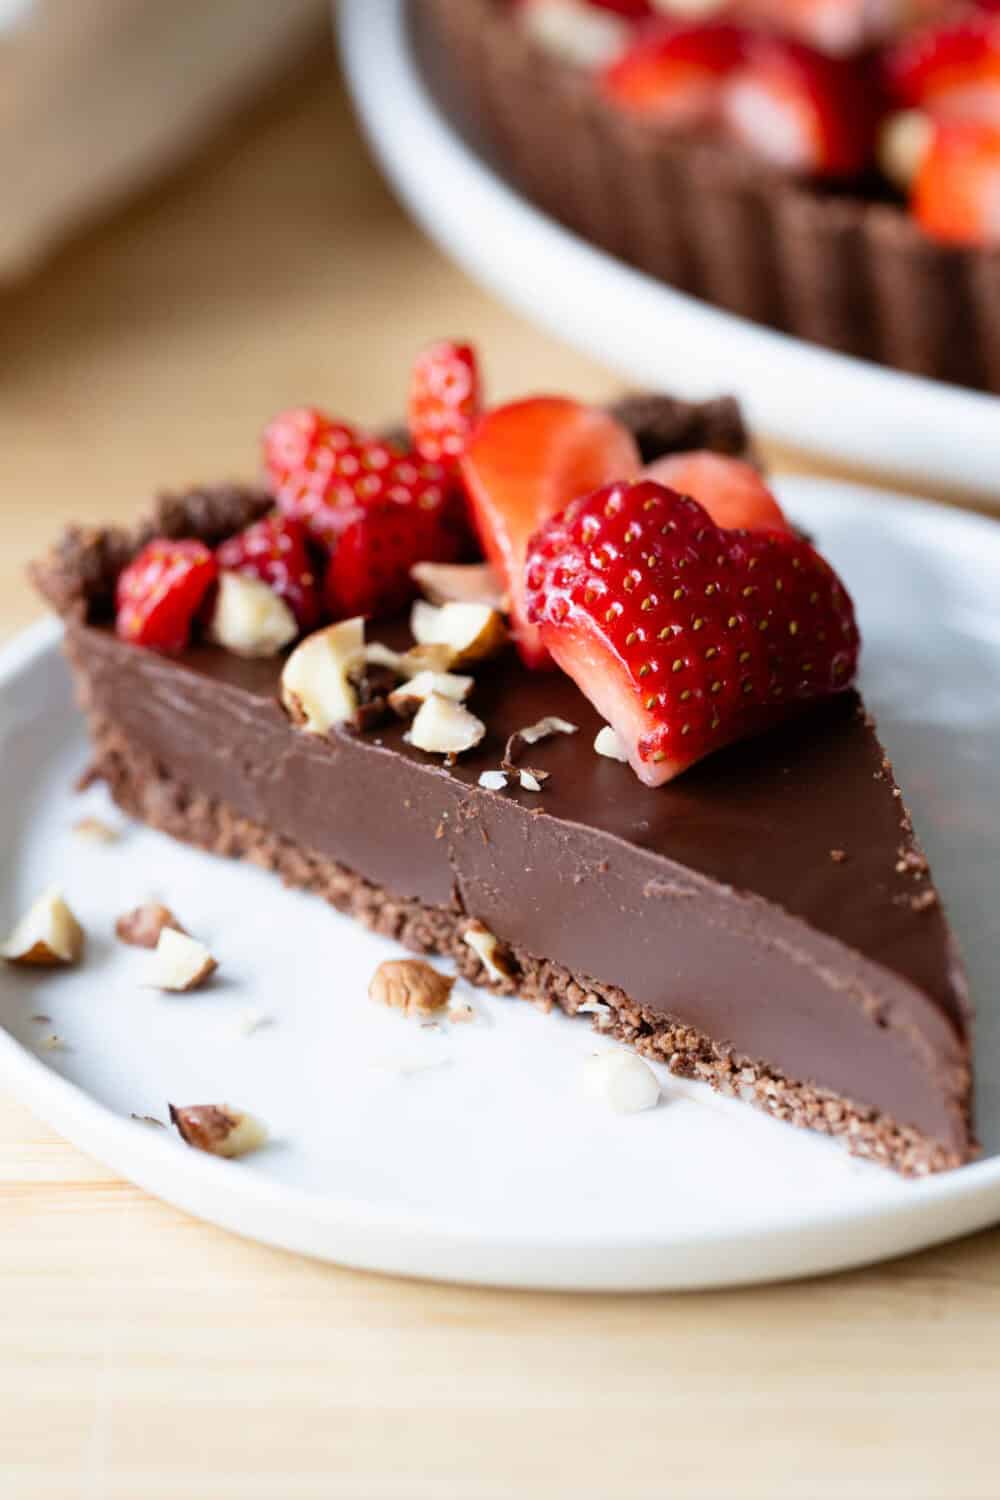
Since there are no eggs in this chocolate tart you can store it in the fridge for up to a week. For a silky smooth experience on your tongue, take a piece out of the fridge 10-20 minutes before you plan on eating it so it softens a little.

Simple Chocolate Tart
Ingredients
- 10.5 oz 70% dark chocolate - 300g
- 2 cups hazelnuts - 275g
- 1/4 cup real maple syrup - 60ml
- 1-2 Tbsp solid coconut oil
- 2 cups coconut cream (!) - see notes!
- strawberries for decorating - optional
Instructions
- Optional but highly recommended: Preheat oven to 350°F / 180°C and once hot roast hazelnuts on a baking tray in one layer for 10 minutes. Then rub in a clean kitchen towel to remove flaking skins.
- Add (cooled down) hazelnuts to a food processor and pulse until coarse.
- Melt 3.5 oz (100g) of chocolate and add to processed nuts, then process on high until a dough starts to form. Add 1 Tablespoon of coconut oil and process on high again. Turn the processor off and see if when you use a spoon and press the dough against the wall of the processor it stays put. If yes the crust is done, if no, process a little longer. If you didn't roast your nuts you might need an extra tablespoon of coconut oil.
- Use your fingers to press the dough into the bottom and sides of a 9" tart pan. Then refrigerate.
- Make the filling by melting 7 oz of chocolate and setting aside, melting (not heating) the coconut cream, and then whisking first maple syrup into the cream and then slowly in one stream the melted chocolate while constantly whisking the cream (see video).
- Pour filling into crust and refrigerate for at least 3 hours.
- Decorate with strawberries and a few chopped hazelnuts if desired.


 Salsa Roja (Homemade Mexican Salsa)
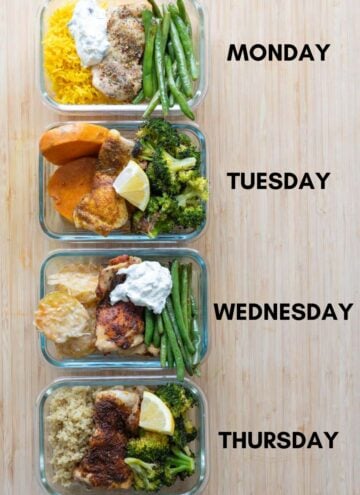 4 Sheet Pan Chicken Meal Prep Bowls
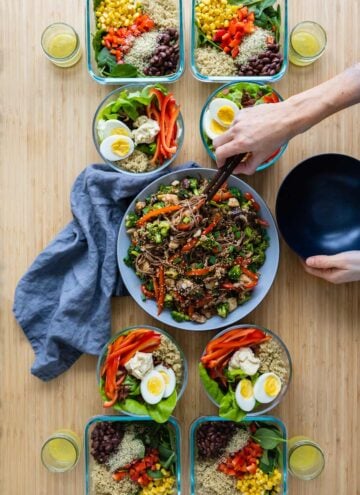 3 Healthy Meal Prep Recipes
Matros says
Wow best cooking,❤️ I love this cooking
Auni says
wow best ,very nice and informative
Content BD says
Wow best cooking,❤️
Helen K. says
Hey Lorena! I just finished reading your simple chocolate tart recipe, and I’m already drooling! I absolutely love how straightforward the recipe is. The mix of rich dark chocolate with the crunchy crust sounds like the perfect combination of textures. I can already see myself making this for a weekend treat with the kids! Also, I appreciate how you highlighted using high-quality ingredients—it really makes a difference when the chocolate is the star of the show. I’m always on the lookout for desserts that are elegant yet easy to put together, and this ticks all the boxes!
What also caught my eye is your suggestion of making it dairy-free if needed. That’s such a helpful tip, especially since some of my friends have dietary restrictions. I bet this tart would still taste incredible with coconut milk! I can imagine adding a sprinkle of sea salt on top to give it that extra pop of flavor. Can’t wait to try this recipe, thanks for sharing your genius ideas!
Gardentalk says
very nice and informative article.