
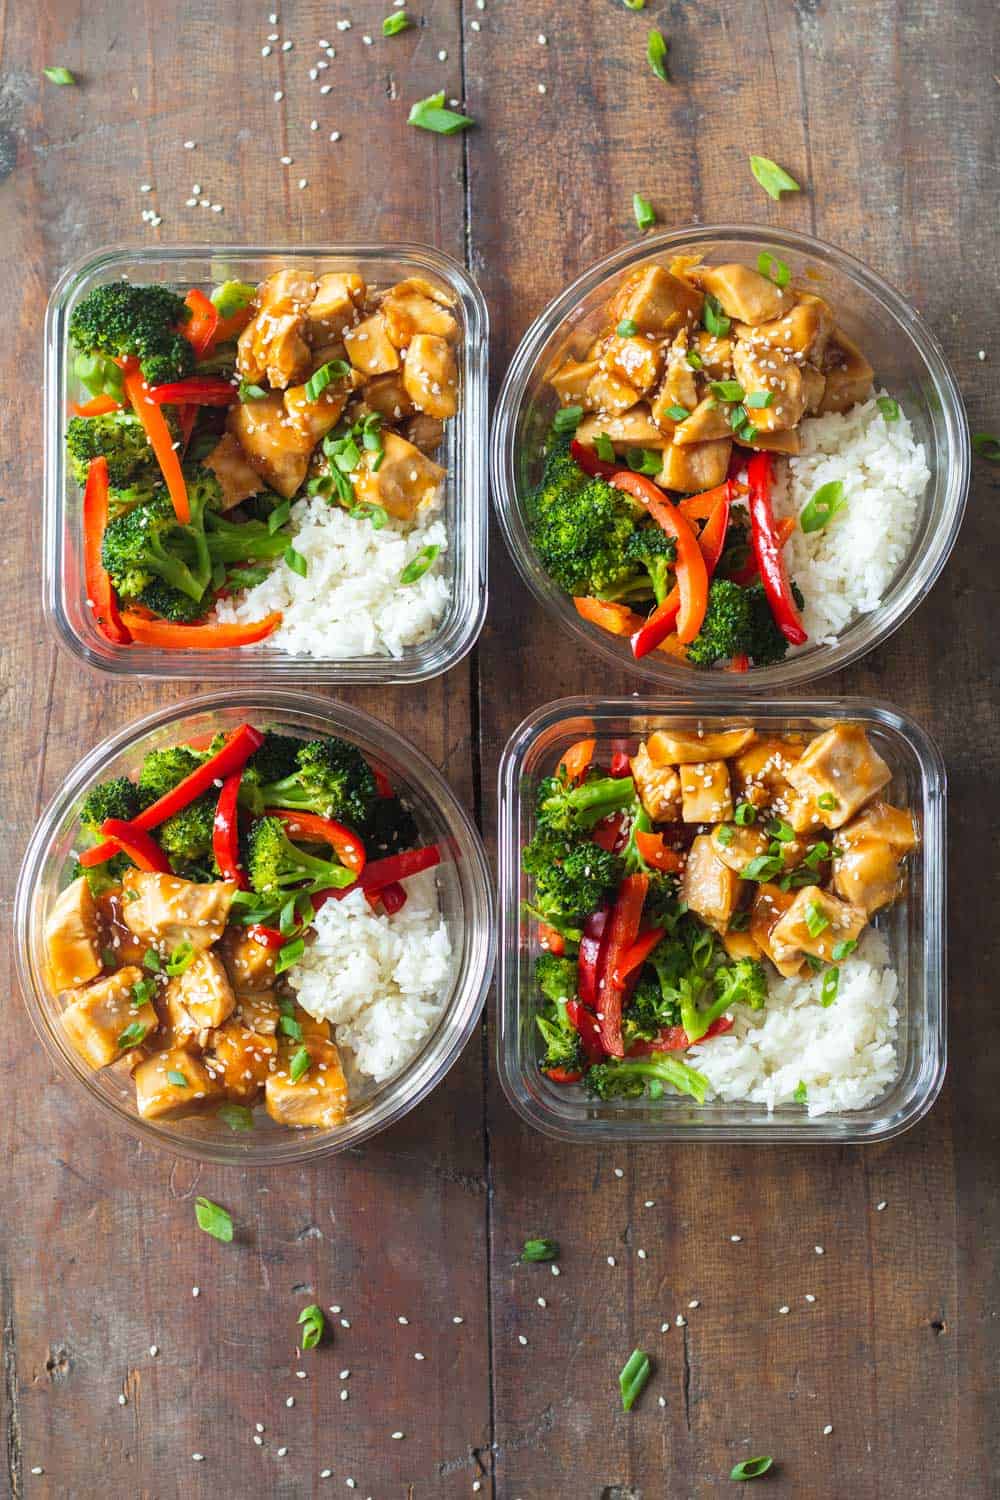
Super easy to prep Teriyaki Chicken made in the oven and transformed into meal prep bowls. Super thick teriyaki sauce and loaded with veggies!
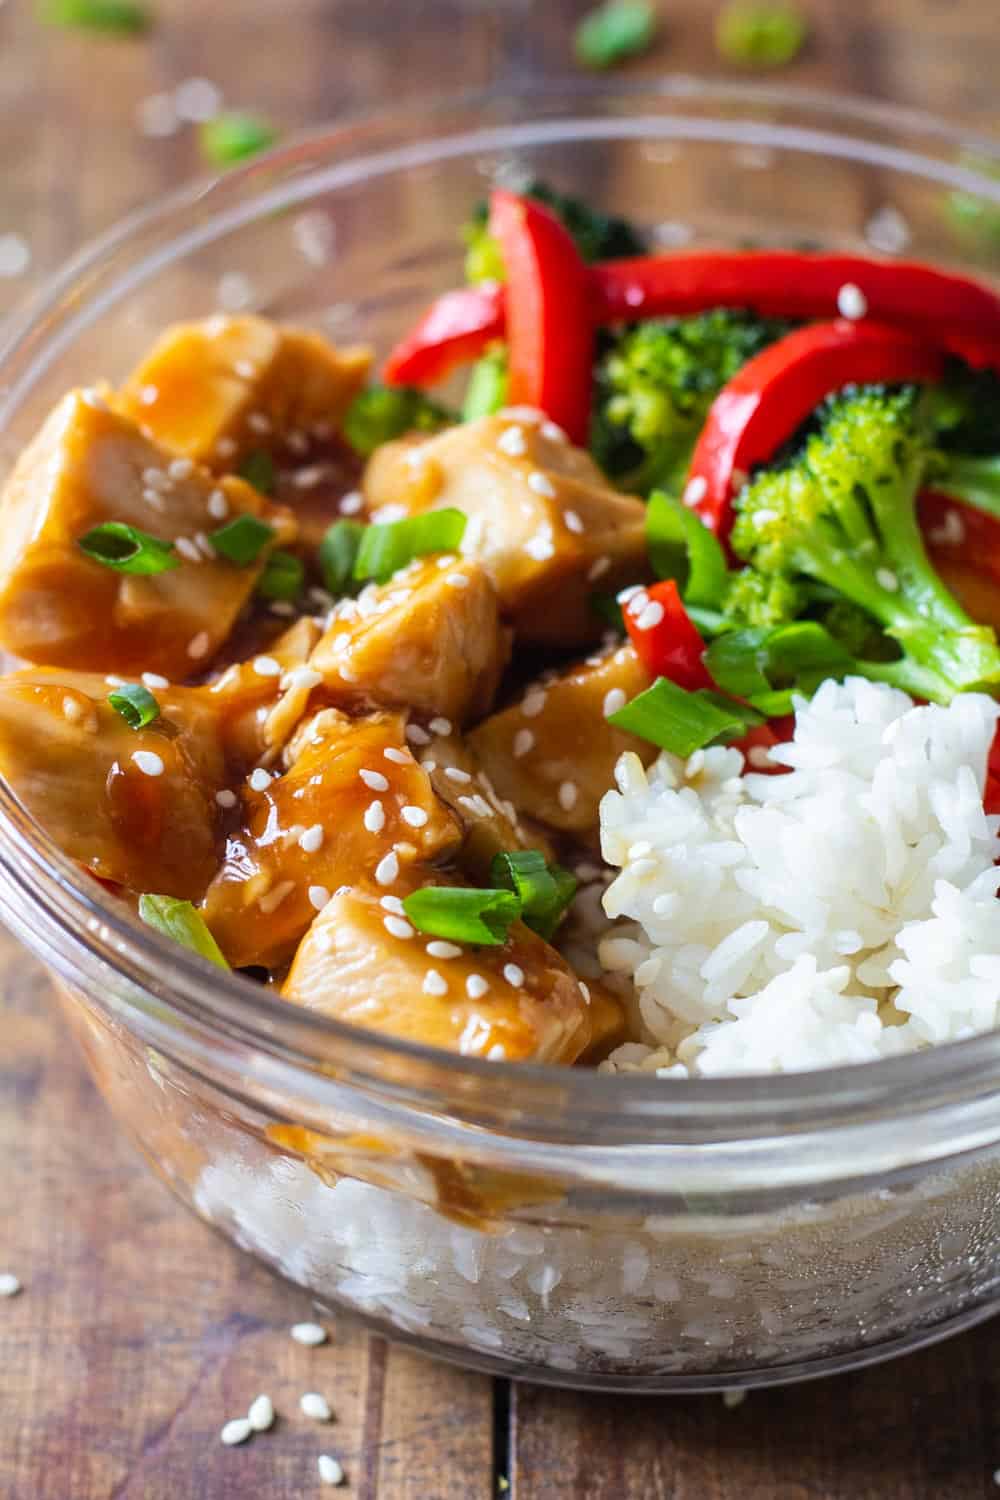
Baked Teriyaki Chicken is by far one of my favorite ways to eat chicken breast. Delicious juicy chicken breast smothered in a thick teriyaki sauce that sticks onto each bite-sized piece of chicken. All made in the oven without babysitting a pot for the sauce. *insert-angelical-ahhh*
Serve it over Instant Pot White Rice or Brown Rice and you’re golden!
How To Make Baked Teriyaki Chicken
Most teriyaki chicken recipes are designed for stir-frying. While that’s super delicious, it also involves quite a few dishes and a lot of babysitting.
When I meal prep I always look for ways to incorporate non-babysitting time so I can prep my breakfasts or pre-chop dinner ingredients while stuff is cooking in a pot or baking in an oven.
The idea is to use meal prep time as efficiently as possible to prepare as much as possible in as little time as possible.
If you make your teriyaki sauce in a pot you get that silky consistency because you add the cornstarch slurry at the end of the sauce cooking process.
In the oven, it becomes more jelly-like because the slurry is in there from the beginning. However, I noticed that this way it actually sticks a lot nicer to the bite-sized pieces of chicken breast. And the juices of the chicken released when dicing make it nice and silky again.
So, feel confident prepping your sauce, adding the chicken breasts as a whole to make sure they stay nice and juicy, bake until chicken reaches 155F, remove from the oven and let rest for 10 minutes (during that time the temp rises to 165F, which is considered safe for consumption). A digital meat thermometer is a little over 10 bucks. Best purchase I’ve ever made. (This is an affiliate link and I earn a small commission at no extra cost to you if you buy through the link).
Tadaaa, Baked Teriyaki Chicken.
How Do You Make Teriyaki Sauce?
In the oven: Add a cornstarch slurry (mix of cornstarch and water) to a baking dish, soy sauce, genuine mirin (affiliate link), honey, fresh ginger and garlic and stir until super well combined.
Then you add your chicken breast or breasts and off it goes into the oven until the chicken is cooked through.
In the saucepan: Stir-fry fresh garlic and ginger until nice and fragrant, then add, real mirin (affiliate link), soy sauce
and honey, whisk well and bring to a boil. Then prepare slurry and add to the boiling sauce. Reduce heat and constantly stir until the sauce thickens. Once thick and silky, remove from the heat and keep stirring until it cools down.
Your chicken breast can be either baked or stir-fried in another pan for this version.
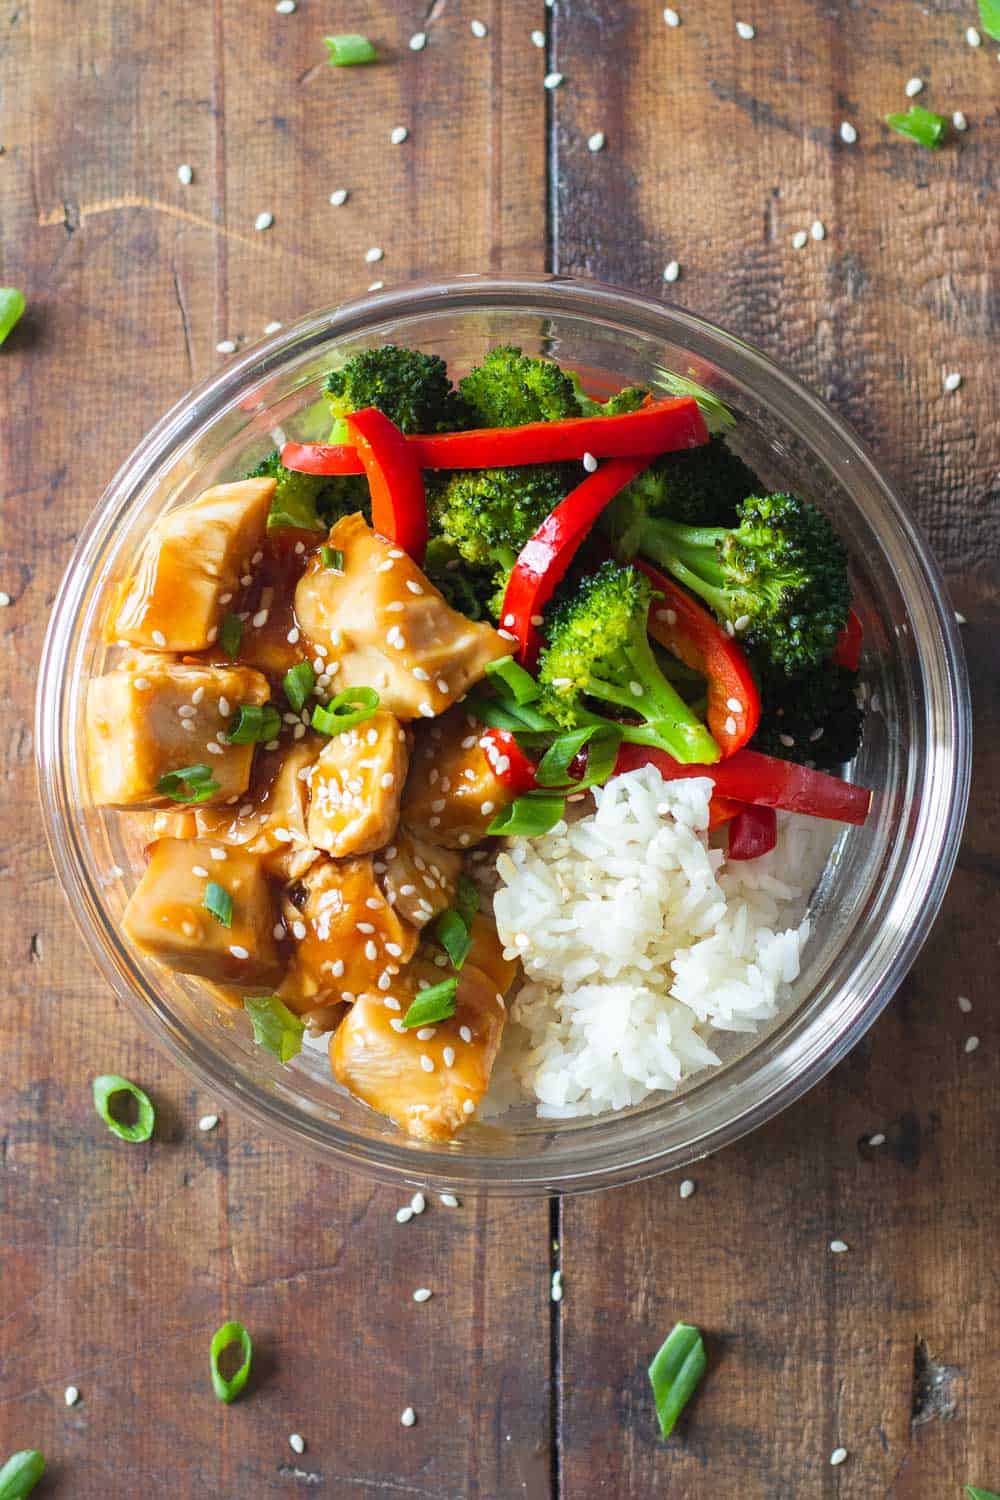
What To Serve Teriyaki Chicken With
My favorite side dish for teriyaki chicken are vegetables that can be roasted in the oven. Always take advantage of the already hot oven.
Broccoli and bell pepper roast perfectly well in less time than a large chicken breast. That means, you can place your chicken breast in the oven and then calmly add your veggies to a baking dish, season, and then place next to the chicken in the oven.
Since the teriyaki sauce is already super flavorful, no need to add tons of seasoning to your veggies.
Teriyaki chicken tastes fantastic over both, white rice and brown rice. If you serve it over white rice, there is enough time if you start prepping that in the instant pot once everything is in the oven. If you serve it over brown rice, make sure you start the instant pot before you start prepping the chicken and veggies. That way everything is hot at the same time.

Teriyaki Chicken Meal Prep Bowls
Ingredients
- 1 Tbsp corn starch
- 1 Tbsp cold water
- 1/2 cup low sodium soy sauce
- 1/4 cup real mirin
- 1 inch grated ginger
- 2 cloves chopped garlic
- 1/4 cup honey
- 2 chicken breasts - (10 oz / 300g each)
- 1 cup white Jasmine or Basmati Rice
- 1 cup water - (more if cooking in a pot)
- 4 cups broccoli florets
- 2 sliced red bell peppers
- 1 Tbsp avocado oil
- sea salt
- pepper
- sesame seeds for garnish
- spring onions for garnish
Instructions
- Preheat oven to 400F (200C).
- Add cornstarch and cold water to a small bowl and whisk until no lumps are left.
- Add cornstarch slurry to an oven-proof baking dish, soy sauce, real mirin, ginger, garlic, honey and whisk until well combined.
- Add chicken breasts to teriyaki sauce and place in the hot oven for approximately 25 minutes or until the chicken has an internal temperature of 155F. (Internal temperature will rise to 165F during resting time).
- In the meantime, add broccoli florets and bell pepper slices to a large baking sheet, drizzle with avocado oil, season with sea salt and pepper and then place next to the chicken in the oven for 15-20 minutes depending on how crunchy or soft you like your veggies.
- While everything is in the oven, cook your rice in either the Instant Pot or on the stovetop.
- Remove chicken and veggies from the oven and let the chicken rest for approximately 10 minutes.
- Then remove the chicken from the sauce and place on a cutting board, cut chicken into bite-sized cubes and return to the thick jelly-like teriyaki sauce and stir to combine.
- Divide chicken, teriyaki sauce, veggies and rice into 4 meal prep containers, garnish with sesame seeds and sliced spring onion and store in the fridge for up to 4 days.
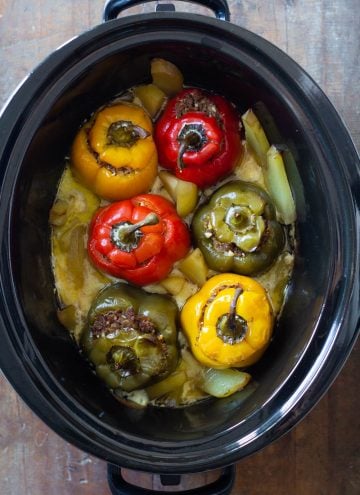 Slow-Cooker Stuffed Peppers
 Quick & Easy Chicken And Rice Casserole
 Mexican Black Bean Soup
Roselyn says
Very good and easy to make
Verena says
I cooked this recipe yesterday and ate it today at work. It was really great. I only used 1/2 cup of soy sauce (did you use one or a half cup in the video?). For me it was enough and absolutely perfect. I really like your recipes. Thank you for sharing them!
Lorena says
Verena you are ABSOLUTELY right!!! I just went through my notes again in my notebook because you’re the second person to comment on this and I started doubting. I had written 1 cup in the original recipe but crossed it out to 1/2 cup because in my tests I must have noticed the same thing. I just corrected the mistake!! Thank you for bringing this to my attention.
Beth says
Just confirming it is 1 cup of soy sauce? As the sauce didn’t thicken in the oven.
Thanks again for the recipes!!
Lorena says
I am so incredibly sorry! This was a mistake! It’s 1/2 cup low-sodium soy sauce. I had written 1 cup in my notes but crossed it out because I noticed in my recipe testing that it’s too much but then didn’t pay attention to my own notes when typing the recipe here. Again, I’m so so sorry :(
Mel says
Aaaah I don’t have Mirin. I googled and saw you can subsitute with white vinegar and sugar… I might just try our white Balsamic.
Will let you know how that went.
Lorena says
Great, please report back. In the video I suggest apple cider vinegar in less quantity if you can’t find real mirin :)
Mel says
I guess I have to start watching the videos……but then I have the kids all over me lol. The while balsamic worked. I added a little more honey but that wasn’t even really needed. LOVE THE RECIPE!!!
Lorena says
I’m so happy you liked it!!! Kids looove watching recipe videos. Mine swear they know how to cook just because they watch my videos :P
Nancy says
Can these be frozen? Please mention that on bowls. I look for things I can make and freeze for later use. Thank you.
Lorena says
Great, thanks for the feedback I will start testing this on everything. Considering each individual ingredient though and having frozen each of them I would say they freeze perfectly well! To defrost, put in the fridge 12-24 hours prior to eating and then reheat either in the microwave or in a pan.