Hello, hello, hello, this time I have a totally food unrelated post for you. Weird, I know, but I couldn’t just not post it and keep it all to myself, don’t you think? I hope you enjoy it. It is a project my husband and I have enjoyed A LOT and the kids are like beeeeeeyooooond happy with the result. I hope this will inspire you to start your own painting project in order to beautify the rather boring furniture in your home. Often times we think we have to live with furniture we don’t necessarily like because that ugly piece of furniture is what’s in our budget or because we have to make do with what we have until we finally saved a long time to buy what we consider a nice addition to the decor. However, there are often so many other ways to either pimp a low-budget piece of furniture OR to beautify an old one in order to use that saved money we were going to spend on something new in something completely different.
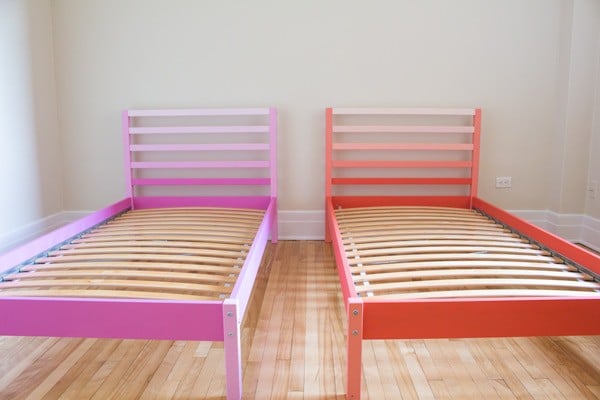
Before buying the kid’s beds I searched the internet for options and of course the beds I liked the most were TOTALLY out of our budget. So I looked for ways to “pimp” a less pretty but also less expensive bed and after some research found out that there are two simple Ikea beds that are made of unvarnished solid wood. Varnished would have worked as well but would have required sanding and why add a step when not necessary? So I chose the one I liked the better which was the Tarva Bed and then went to my local hardware store to choose a bunch of those color shade cards they let you take home to decide on which color you like the best. I gave them all to the kids and told them to choose one card and they chose these:
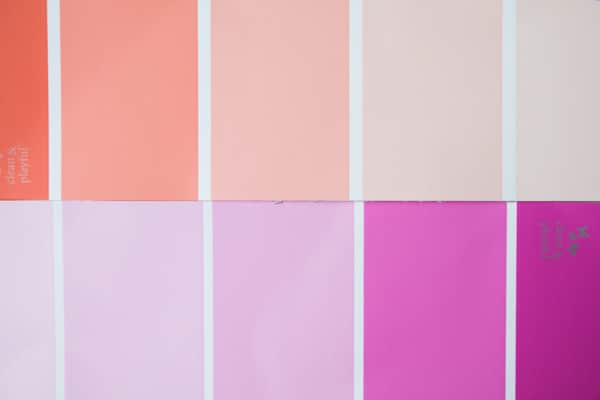
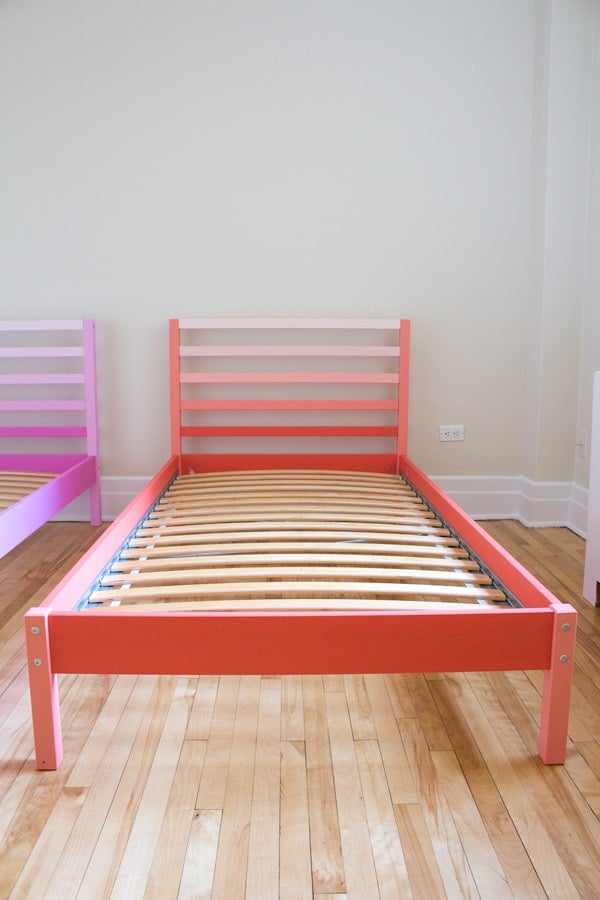
I bought all 5 colors of each card in order to create exactly that color lighting stair on their beds. Then my wonderful, beautiful, super handy husband [hola precioso ;)] was assigned the job to paint and assemble the beds and they turned out just absolutely gorgeous!!! We love the result and what’s more important, the kids almost fainted when they saw their beds. They absolutely love them! I think what they are the happiest about is that they were allowed to choose the colors themselves.
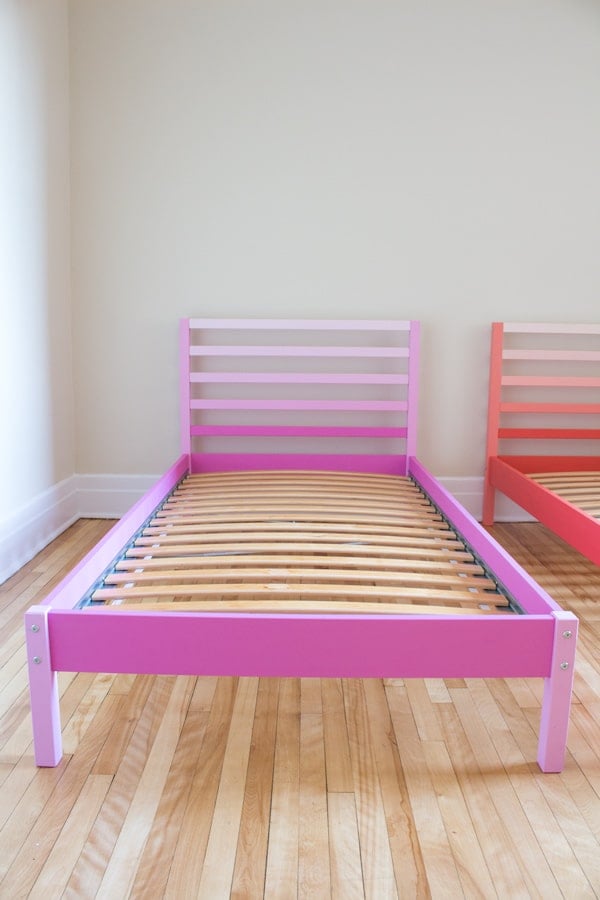
Everybody who comes visit our apartment gets immediately directed to their room by them first and they point at their beds and proudly announce: I CHOSE THE COLOR!
I couldn’t take a “before” picture because the beds were new and not assembled and we didn’t want to assemble them just to take a photo and then disassemble again to paint. I have started my second project now though where I was able to take a pic of a before and after at the same time actually. The kids have had Ikea Poäng armchairs for quite a while now and I decided to paint the wooden part as well to match their beds and started with the first so far.
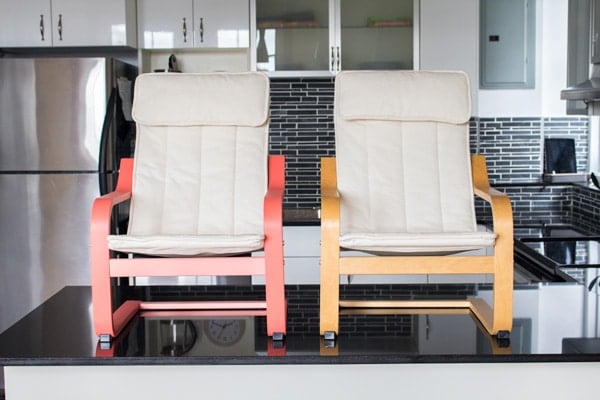
These armchairs needed some initial sanding because the wood was varnished. It only took about 10 minutes though because it’s so little that needs to be sanded. Don’t worry about painting on the little black feet at the bottom. The paint comes off easily with a wet cloth afterwards.
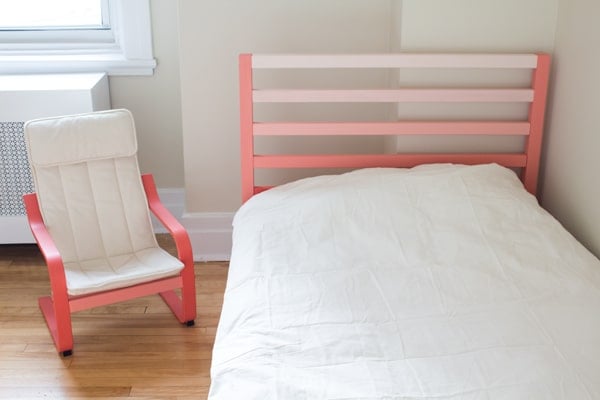
Well and this is the result for one of the bed/armchair combos. When you go buy the paint just ask for the little sample containers. I bought mine at $3 a piece. So the project for one bed came down to $99+(5x$3)=CA$114 (in US Dollars that’s about $85 and in Euros about €77).
Let me know what you think :)


 A gift from the universe
 The New Kitchen
 How to Reduce Plastic Waste When Grocery Shopping
Daman Game says
I love this Ikea Tarva bed hack! It’s amazing how a little creativity can transform such a simple piece of furniture into something unique. The suggested finishes and styling tips are super helpful. Can’t wait to try this out in my own home! Thanks for sharing!
Big Win says
I absolutely love this Ikea Tarva bed hack! The transformation is stunning, and the green touches really bring a fresh vibe to the room. I’m inspired to try something similar in my space. Thanks for sharing such a creative idea!
lucky 33 says
I absolutely love this Ikea Tarva bed hack! The transformation is stunning, and the green touches really bring it to life. It’s amazing how you turned something basic into a unique piece. Can’t wait to try this in my own space!
Samantha says
This is so cute! We are looking at this bed frame as an option for our daughter but I can’t for the life of me find the measurements from the floor to the bottom of the frame. We need to be sure we can fit under the bed storage. Do you know how high it is?
Lorena Grater says
I just measured it for you. It’s 20cm/8inches. It’s quite high, it should fit plenty of storage.
Jillian Cordova says
Did you sand the beds at all before you painted?
Lorena says
No, I didn’t. They are already quite rough so I didn’t feel it needed it.
HB says
This is really cool! Can I ask how did you do the ombre effect?
Lorena says
Hi Habanera, I’m a bit confused by your question. I explain all the details in the blog post. Which part is unclear?
Charlotte Bridgeman says
These are great. Thank you. I’ve been struggling w what to do for my children’s beds in their new room.
How did you choose which colour to do on the long base pieces & on the shorter ones?
Ta x
Cindy says
These look great! Will the Tarva frame hold a “regular” foam twin mattress or did you purchase IKEA mattreses to fit in the frame?
Lorena says
Hi Cindy, I purchased the mattresses from IKEA. I didn’t know regular twin where a different size. I guess it depends on the country, too? I’m in Canada.
Riley says
You can use any mattress!
Eileen says
Hi! Love this idea and I just finished one coat of paint. Did you use a polyurethane sealant? I’d rather not becuase it’s an extra step but I wanted to see if you didn’t use the sealant, how well just the paint is holding up. Thanks!
Lorena says
Hi Eileen,
no I didn’t use any sealant, just the paint to make it easy to remove it again by sanding later on in case they change their favorite color. The beds have been painted for almost 2 years now if I remember well and they still look exactly the same. The paint hold really really well.
Yennifer says
This is awesome! We are in a bit of a very tight budget these days. I was thinking of the Hemnes single bed but find these much more affordable and with so much potential. You guys have done a lovely job! Did you use rollers or paint brushes? I am kind of afraid of messing it up lol
Lorena says
Hi Yennifer, we used the little sponge thingies. The super cheap black ones. I love them because they don’t leave brush hair patterns. With those you can pain super even. We gave the beds two layers of paint. Paint three sides of each piece of wood and let it dry on the unpainted, once dry paint them again and let dry laying on the unpainted side again. Once dry, turn around and paint the unpainted side once, let dry, again, let dry and finished. Here is a picture of the sponge thingies we used: https://www.amazon.com/Value-Pack-10-Pc-Foam-Paint-Brush/dp/B003UHJDAS/ref=sr_1_13?ie=UTF8&qid=1478481573&sr=8-13&keywords=sponge+brush
Robin says
These beds look amazing. Could you tell me the details of how you painted the bed. What type of paint did you use? Did you use a primer before. Thank you!
Lorena says
Hi Robin,
I didn’t do anything fancy. I don’t even know what a primer is (yes, you are allowed to roll your eyes). I went to home depot, chose the color cards and told them to give me those colors in the most little containers they have. I got about 1 measuring cup of pain from each color. I think they were paint for walls. It worked just fine. Still looking great now 1 year later.
Frank harris says
Hi there the beds look great and my 5 year old daughter wants a pink bed. Did you paint the beds before or after they were assembled.
Thanks
Frank
Lorena says
Hi Frank, I painted them BEFORE assembling. I painted them in the afternoon, letting 3 sides of every piece dry while lying on the unpainted side and then in the evening painted the forth side and let it all dry over night. The next morning I assembled the bed.